
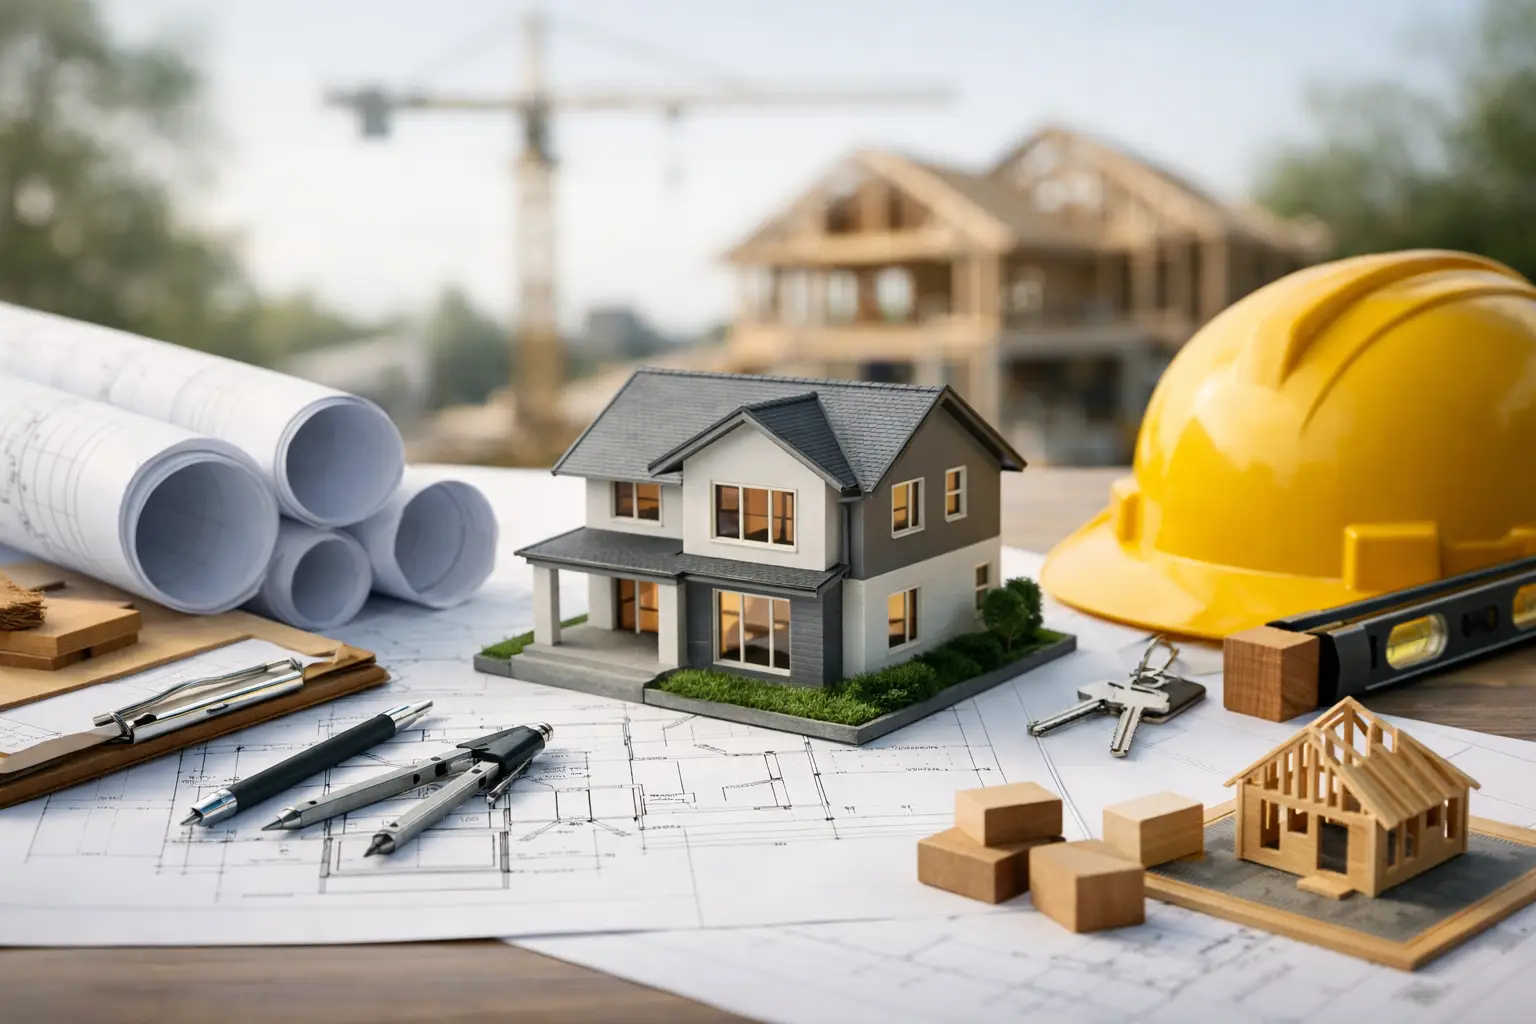
9 Steps to Building a Custom House
Building a custom home usually starts long before the first shovel hits the ground. It starts when a homeowner realizes the current house no longer fits – the layout fights daily life, storage is never enough, or the property simply cannot support the way the family wants to live. If you are looking at the steps to building custom house plans from the ground up, the biggest advantage is control. The biggest challenge is that every decision matters.
A well-built custom home does not happen because someone picked attractive finishes. It happens because the process is handled in the right order, with the right expectations, and with a builder who knows how to guide decisions without losing sight of your goals. In a market like Denver, where lot conditions, zoning, design preferences, and budget pressure all play a role, clarity at the beginning saves time and money later.
Start with your goals, not the floor plan
One of the most common mistakes homeowners make is starting with inspiration images before defining how the home needs to perform. A custom house should reflect the way you actually live, not just what looks good online.
Before design begins, get specific about priorities. Think about household size, how long you plan to stay in the home, entertaining habits, work-from-home needs, aging-in-place considerations, storage expectations, and outdoor living. If you want a main-level guest suite, a larger kitchen for hosting, or an ADU option for multigenerational living or future rental income, that should shape the project from day one.
This early planning stage is also where trade-offs become clear. A larger footprint may reduce yard space. A dramatic window package may affect energy performance and budget. The goal is not to avoid compromise. It is to make informed choices that support the life you want in the home.
Step 1: Set a realistic budget range
Budget is more than the construction number. It includes design fees, permits, engineering, site work, utility connections, demolition if needed, interior selections, landscaping, and contingency. For custom homes, contingency matters because unknowns can appear once the site is evaluated and plans move into permitting.
It also helps to think in ranges rather than one fixed number too early. A homeowner might say the target is to stay under a certain amount, but the final cost will depend on square footage, structural complexity, finish level, and lot conditions. A sloped site in Denver can create very different costs than a flatter, more accessible lot.
If financing is part of the plan, address that early. Waiting until plans are complete can create painful redesigns if the approved budget does not match the scope.
Step 2: Choose the right lot or evaluate the one you own
The land shapes the home more than many people expect. Setbacks, grading, soil conditions, easements, drainage, tree preservation, and neighborhood design restrictions can all affect what is possible.
If you already own a lot, have it reviewed before getting attached to a specific home design. If you are still shopping, it is smart to look at the lot and the house as one decision, not two separate ones. A less expensive lot can carry hidden costs if it requires major excavation, retaining walls, or utility upgrades.
This is also where local experience matters. Building in and around Denver often means paying close attention to snow loads, sun exposure, and how the home sits on the site for both curb appeal and year-round comfort.
Step 3: Build your team early
Custom homes run better when the builder, designer, and engineers work from the same playbook. Bringing in a contractor late can lead to plans that look great on paper but create budget strain or construction inefficiencies.
An experienced builder can help identify value decisions early, suggest practical alternatives, and flag potential problems before they become expensive change orders. This does not mean cutting quality. It means aligning design ambition with real-world construction.
For homeowners who want a guided, high-touch process, this step often sets the tone for the entire experience. Good communication here tends to carry through the rest of the project.
Step 4: Design around lifestyle and long-term value
This is where the project gets exciting, but it is also where discipline matters. Great custom design balances beauty, functionality, resale value, and buildability.
Open-concept living spaces remain popular, but they are not always the answer for every family. Some households need quiet zones, separate work areas, or more defined rooms. Ceiling heights, window placement, mudroom layout, pantry size, and storage strategy often have more day-to-day impact than dramatic design features.
A strong design process also looks ahead. If the home should serve you for the next 10 to 20 years, consider flexible spaces that can evolve. A playroom may become a study area. A main-floor office may later serve as a bedroom. Good custom homes feel personal now without becoming limiting later.
Step 5: Finalize plans, engineering, and specifications
Once the layout is approved, the details need to catch up. Structural engineering, mechanical planning, electrical layouts, and finish selections all influence cost and scheduling. The more complete the plans and specifications are before construction starts, the fewer surprises you are likely to face.
This stage can feel slower than homeowners expect because decisions stack up quickly. Exterior materials, windows, doors, cabinetry, plumbing fixtures, flooring, tile, lighting, appliances, and trim packages all need direction. Rushing these choices often causes delays later.
It is worth taking the time to be thorough. In custom construction, momentum is helpful, but clarity is better.
Step 6: Permits and approvals
Permitting is rarely the most exciting part of the steps to building custom house projects, but it is one of the most important. Local jurisdictions review plans for zoning compliance, structural requirements, building code, and other technical standards. In some neighborhoods, architectural review boards or HOA requirements may add another layer.
Approval timelines vary, and this is one area where patience helps. A builder with experience in your area can help reduce avoidable setbacks by submitting complete, coordinated plans from the start.
For homeowners, the main takeaway is simple: permitting is part of the build timeline, not a side note. It should be planned for, not treated as a surprise delay.
Step 7: Construction begins from site work to framing
Once permits are in place, construction moves from planning to visible progress. Depending on the lot, this may begin with demolition, excavation, grading, and utility prep before foundation work starts. From there, framing gives the home its physical shape.
This phase is exciting because the house becomes real, but it is also when hidden conditions can emerge. Weather, soil issues, material lead times, and inspection scheduling can all affect pace. That does not always mean something is wrong. Custom building involves many moving parts, and a steady process matters more than a rushed one.
Homeowners benefit most when they stay engaged without trying to micromanage. Regular communication, scheduled walkthroughs, and timely decision-making keep the project moving with fewer headaches.
Step 8: Interior systems, finishes, and quality control
After framing, the home moves through plumbing, electrical, HVAC, insulation, drywall, millwork, cabinetry, tile, flooring, painting, and finish carpentry. This is the stage where craftsmanship becomes easy to see.
It is also where quality control matters most. Even excellent plans need careful execution. Clean tile lines, well-aligned cabinetry, smooth drywall, consistent paint coverage, and properly installed fixtures are the details that separate a home that merely looks new from one that feels truly well built.
This is why choosing a contractor based on price alone can be risky. A lower bid may not reflect the same level of supervision, finish quality, or responsiveness once the work is underway. For many homeowners, trust in the builder is what protects both the investment and the experience.
Step 9: Walkthrough, punch list, and move-in planning
The final stage is more than getting keys. It includes inspections, system testing, punch list completion, and homeowner orientation. You should know how the home operates, from HVAC zones and shutoff valves to finish care and warranty expectations.
A good final walkthrough is detailed and honest. Small adjustments are normal in a custom build, and addressing them before move-in makes the transition smoother. This is also the right time to plan practical details like window coverings, furniture fit, storage organization, and landscaping timing.
For many clients, this moment confirms whether the process felt organized and supported from the start. A well-run project should leave you confident in the home, not just relieved that it is over.
What makes the process smoother
The steps to building custom house projects are straightforward on paper, but the experience depends on decision quality and communication. The smoothest projects usually share the same traits: realistic budgeting, clear priorities, complete plans, and a builder who listens closely while keeping the work on track.
For homeowners in Denver and surrounding communities, local knowledge adds another layer of value. Climate, permitting, neighborhood context, and lot conditions all influence outcomes. A client-centered builder like Hammer Hero can help connect those pieces while keeping the home aligned with your vision and your investment goals.
A custom home is one of the most personal projects you can take on. The best approach is not to rush to the finish line. It is to build with purpose, ask good questions, and make each step support the way you want to live for years to come.
